This article is part of the #VanLife series where I talked about converting our Sprinter van: what goes into building it, our daily life on the road, and other sorts of fun and challenging things about living and traveling full time in a van.
One of the first things I researched into after deciding to travel and live in a van full time was the best solar power system to install (or should we say, easiest?). We knew we needed a solar system that’s quite beefy to enable us to do some remote work on the road.
Solar power setup, along with much of everything else involved in retrofitting a van to live in, was a subject neither Jack nor I knew much about.
It’s a world consisting of solar panel, converter, inverter, and batteries. Which ones to get (and there are so many to choose from) and how to connect them all together? It was a big puzzle.
Easiest solar power setup for van living?
In the end we decided to take the easy way out and get ourselves a Yeti 400 from Goalzero. This is pretty much the closest thing to a solar system plug-n-play out there.
The Goalzero Yeti 400 and our 100W solar panel became the meat and bone of our van solar system. The following is my attempt at explaining how we set up our solar power system for our adventure van.
Update! After this post is published, GoalZero came out with a 1400 Wh portable power station. It’s only a little bit bigger than the Yeti 400 but has 3x the capacity. If you’re looking into adding a fridge or TV to your adventure van setup, this is worth looking into.
- 1425Wh lithium portable power station can power up to 10 devices at once (single cell equivalent capacity: 396Ah @3.6V)
- Patented AC inverter (output, pure sine wave) and 60W USB-C power delivery ports
- WiFi connectivity, simply connect a Yeti through your WiFi router and control it remotely using the Yeti App
- Charge phones, tablets, laptops, cameras, drones, and more. Powers your refrigerator, blender, TV, lights, power tools and medical devices
- Using App, check battery level, power in and out, even turn ports on and off, all from the palm of your hand
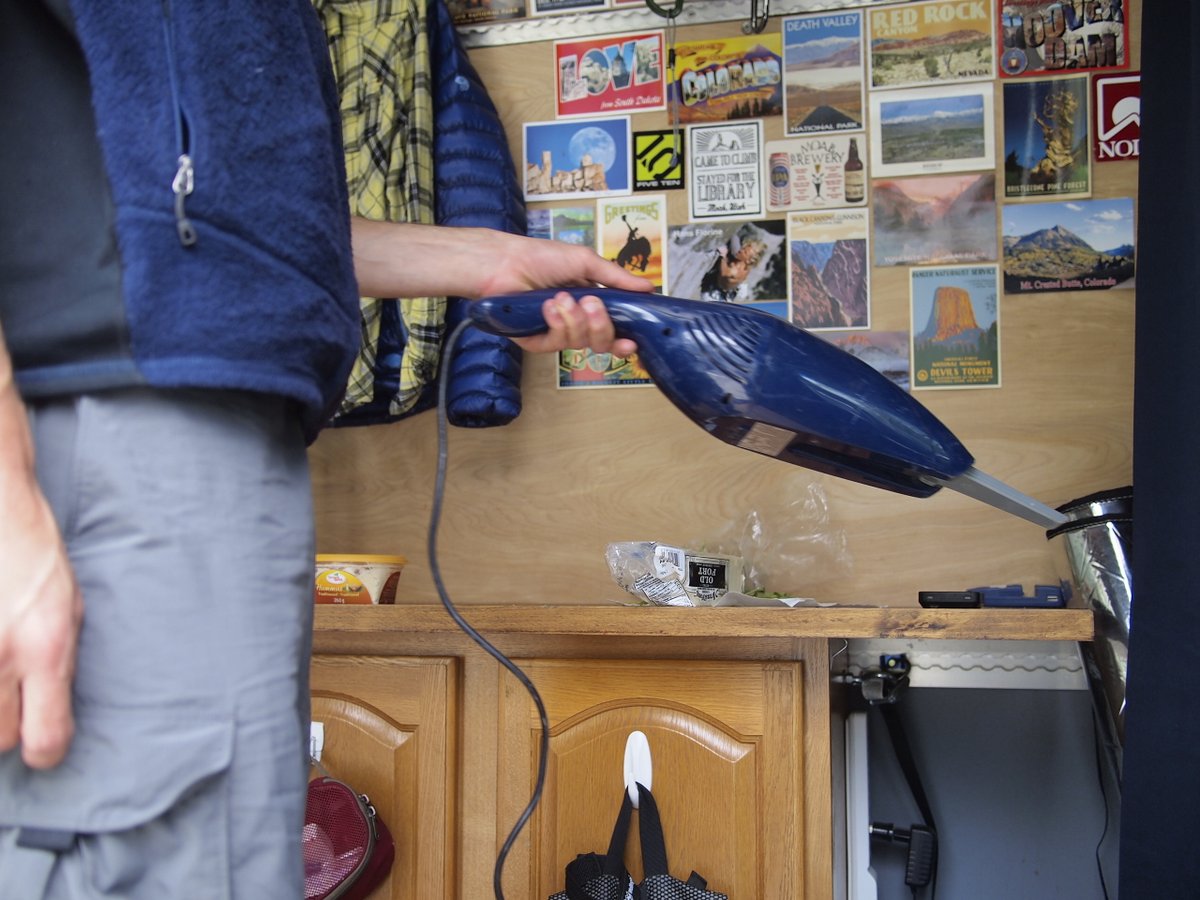
Our handheld vacuum come in handy very often
A solar powered van in a nutshell
In its most basic sense a solar system goes like this: you collect and convert energy from the sun to electricity (solar panels) and store it (in batteries) until you need it.
But a battery is pretty dumb. Like a goldfish, it will take and take for as long as there’s energy available (like when it’s really sunny out) until – poof! – it destroys itself.
This is where a controller comes in. The simplest controller protects the dumb battery’s self destruction by saying, “Dude, stop or you’d get sick” and disconnecting the battery bank from the solar panel when it’s full.
Now how does one use this stored energy? If you think you can just connect the battery directly to your gadgets, you’d be wrong. If only life were that simple.
AC vs DC
A regular battery’s voltage is 12V DC, but most of your electronics need 110-220V AC to operate. Different voltage. Different type of current altogether. An inverter converts the energy in the battery bank to the right kind of current and voltage that your gadgets can actually use.
Things you need to install solar power in your van (in a nutshell)
Here are the 4 things you need to build a solar powered adventure van: a solar collector (solar panel), a controller, a battery bank, and an inverter.
So you can go and buy these things separately, or you can cheat a bit and do what we did (get the Yeti 400).
But first, let’s talk numbers. It will get a little dry here in a bit, but bear with me. It’s kind of an important step because before you can figure out what to get, first you have to figure out what you need.
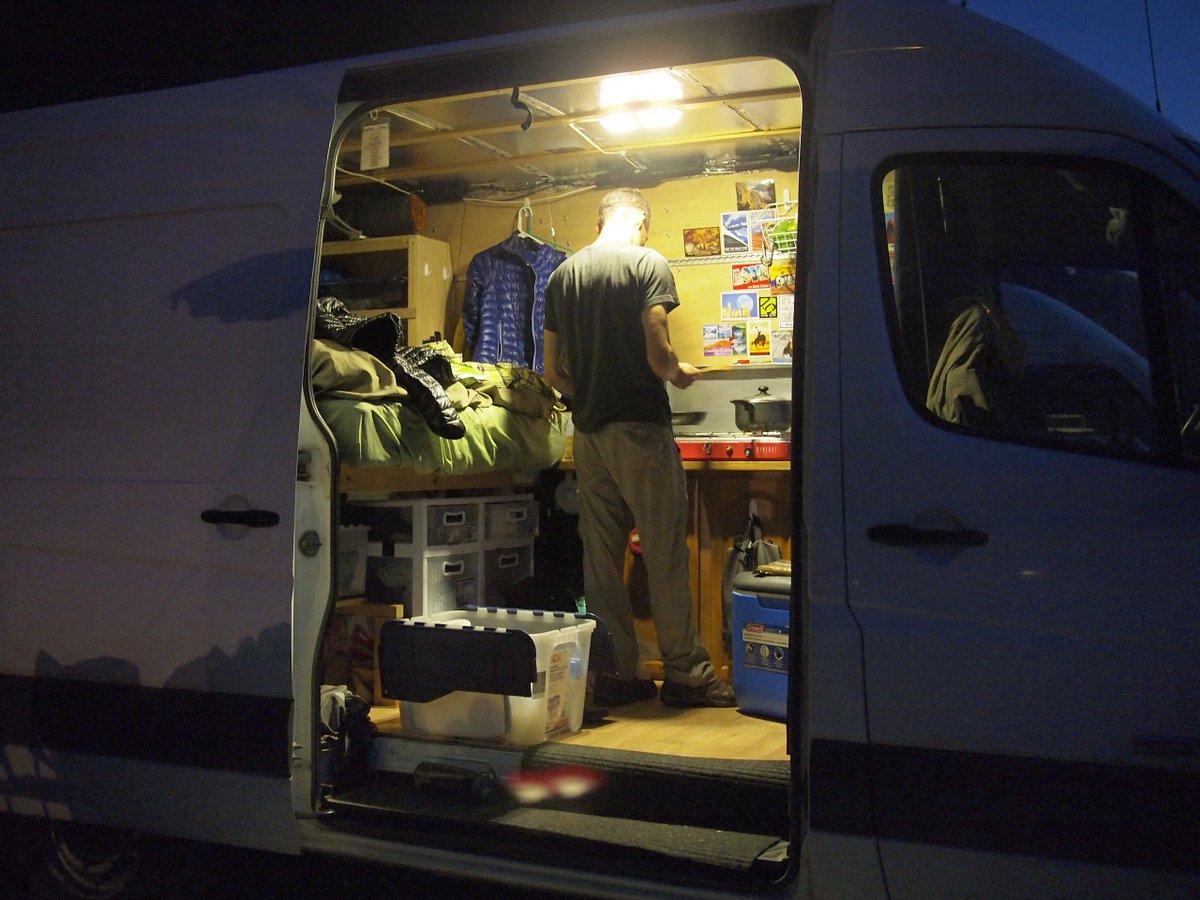
Cooking at night
On batteries
You can have one or more batteries in your ‘battery bank’. How many batteries you actually need in your battery bank depends on each battery’s capacity, your daily power usage, and how many days you want to be able to live ‘off-the-grid’ with no input.
You can calculate your daily power usage in amp-hour (Ah) by this formula:
Amp (Watts / Voltage) x Hours of usage in one day
Example 1
Our overhead light uses 4 Watts on 12V. I’m guesstimating we’ll have it on for about 4 hours a day.
Its daily amp-hour usage is then: 4 Watts / 12 V x 4 hours = 1.2 Ah
Example 1
My MacBook’s adaptor lists the maximum Amp it’ll provide (3.1A). I assume I’ll use it about 3 hours a day.
Its daily amp-hour usage is then: 3.1 Amps x 3 hours = 9.3 Ah
You do this for every single major appliance you’re going to have in the van. You total them up and you’ll get a rough idea of how much power you’ll consume in one day. In the above example, my daily power usage will equal to 10.5 Ah (9.3 Ah + 1.2 Ah)
When shopping for batteries, their capacity is often listed in Ah. But to complicate matters, you really shouldn’t drain your battery completely and only use about 50% of its full capacity.
So assuming I have a 120 Ah battery, in reality that only gives me a total of 60 Ah. And continuing on with the above example, that battery will give me 60 Ah / 10.5 Ah = ~ 5.5 days of power without getting charged.
Are you still with me? I hope I didn’t lose you yet.
My point is by doing this calculation, I realised that our power needs for fulltime van living is lower than most RVers out there. We don’t have a ceiling fan, a kitchen, or a fridge. Our power needs is low enough that getting an energy pack (like a GoalZero’s Yeti 400) becomes an option.
On solar panel

Hooking up our solar panel to the GoalZero for the first time
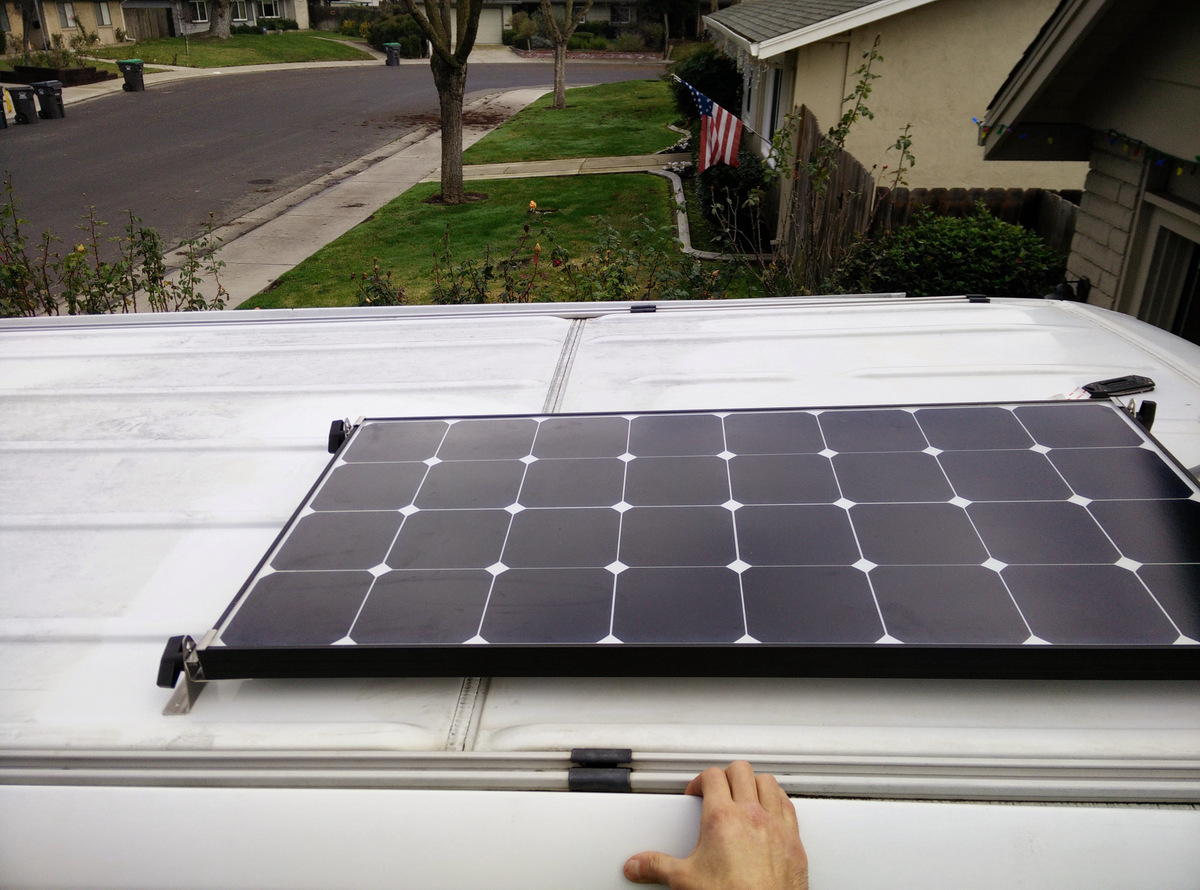
The GS100 on the Sprinter’s roof
If you have a small van with limited roof size, you can’t go wrong with this monocrystalline 100W panel from Grape Solar (we got ours from AMSolar).
From the research that I did, monocrystalline panels have the highest efficiency per square foot. With this solar panel’s small footprint, we could fit 4 on our Sprinter’s roof if we needed to.
But do we need to? The helpful AMSolar guy told us that many RVs with a much bigger battery bank use just the one 100W solar panel. So I figured, it it’s good enough to keep a 200Ah system happily charged, it’ll be good enough for our measly 33Ah battery. Which brings me to our next point.

- Renogy's most popular product! High in power but sleek in size, this 100W solar panel is the perfect item for off-grid applications
- Compatible with different Renogy mounting systems such as Z-Brackets, Pole Mounts and Tilt Mounts
- Guaranteed positive output tolerance (0-3%); withstands high winds (2400PA) and snow loads (5400PA)
- Anti-reflective, high transparency, low iron-tempered glass with enhanced stiffness and impact resistance
- 25-Year power output Warranty: 5 Year/95% efficiency Rate, 10 Year/90% efficiency Rate, 25-year/80% efficiency Rate.Optimum Operating Current (Imp): 5.29A
The Yeti 400 (all-in-one: battery, converter, and inverter)
What’s cool about the Yeti 400 is that it’s a battery, a converter, and an inverter in one – a power pack. It has all sorts of ports already built into the panel: 12V outpout, 2 USB ports, and 2 120V wall outlets. It’s as close to a plug-n-play as it gets.

Our Yeti 400 with all of its input and output ports. The digital displays tells you the battery’s state, and current solar input and usage.
20 minutes after it arrived in the mail, we managed to hook up our solar panel and use the power of the sun to charge my phone!
Its biggest downside is its puny capacity. The battery inside holds only 33 Ah, and the inverter only has a max output of 400 W. In comparison, most conservative RV users recommend at least 200 Ah batteries and 1500+ W inverter.
I sat down with a pen and paper and started adding up numbers. Our projected power consumption was 16 Ah per day. That’s like nothing! With no fridge and no TV we can get by with very little.
Even though we were originally planning to build out our own system, this was the moment when we started seriously considering getting what we call a plug-n-play solution.

- 428Wh lithium portable power station can power up to 7 devices at once (39,600mAh at 10.8V/119,000 at 3.6V)
- Continuous 300W, 1200W surge pure-sine wave inverter, 2.4A USB ports, 120W 12V ports
- Charge phones, tablets, laptops, cameras, and most small devices. Provides power for small appliances, lights, CPAPs and more
- Recharges from AC or pair with a solar panel (sold separately)
- Designed and engineered by power station experts with a US-based customer service center
The cost of our solar power setup
The parts:
1. 100W panel from AMSolar – $380 (accessories needed to mount it included)
2. A Yeti 400 – $460
3. A MC4 to 8mm adaptor to connect the solar panel’s output to Goal Zero’s proprietory input – $14
3. A fuse box (optional)
4. A cigarette lighter to leads adaptor (optional)
5. Dual USB charger socket (optional)
6. Marine waterproof sealant.
7. Misc cable
Total cost of our van’s solar power setup = $870 ++
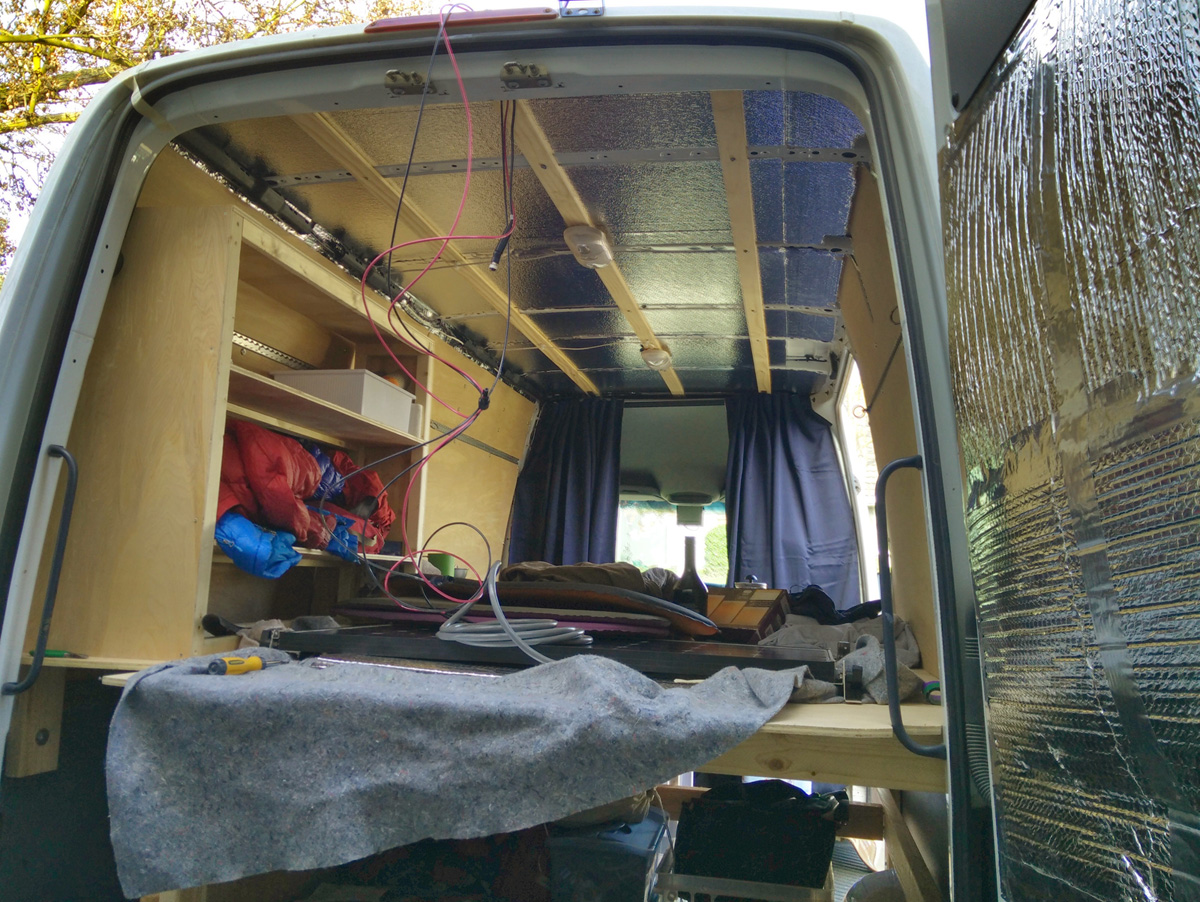
Running the cable to the interior of the van
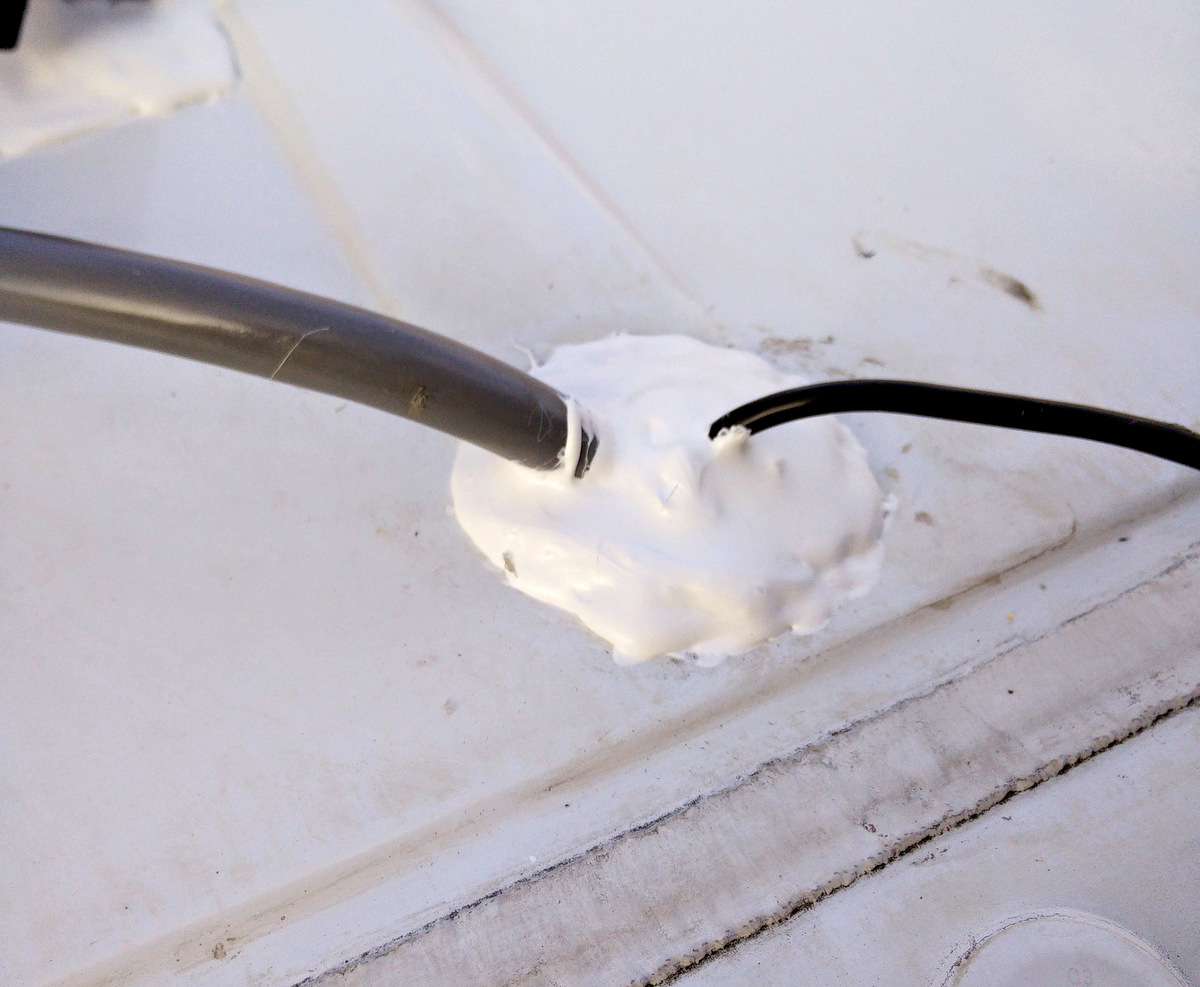
The solar panel is attached to the Sprinter’s roof using, believe it or not, double sided tape. The first time we drove on the freeway, we kept looking in our rearview mirrors expecting to see our $400 solar panel in pieces behind us. Now we only think of it when encountering strong wind gusts or hail. So far so good though.
We run the cable connecting the panel to our Yeti 400 inside the van through a hole on the Sprinter’s roof that we then sealed shut with marine waterproof sealant.
Cables from the solar panel and from our backup camera
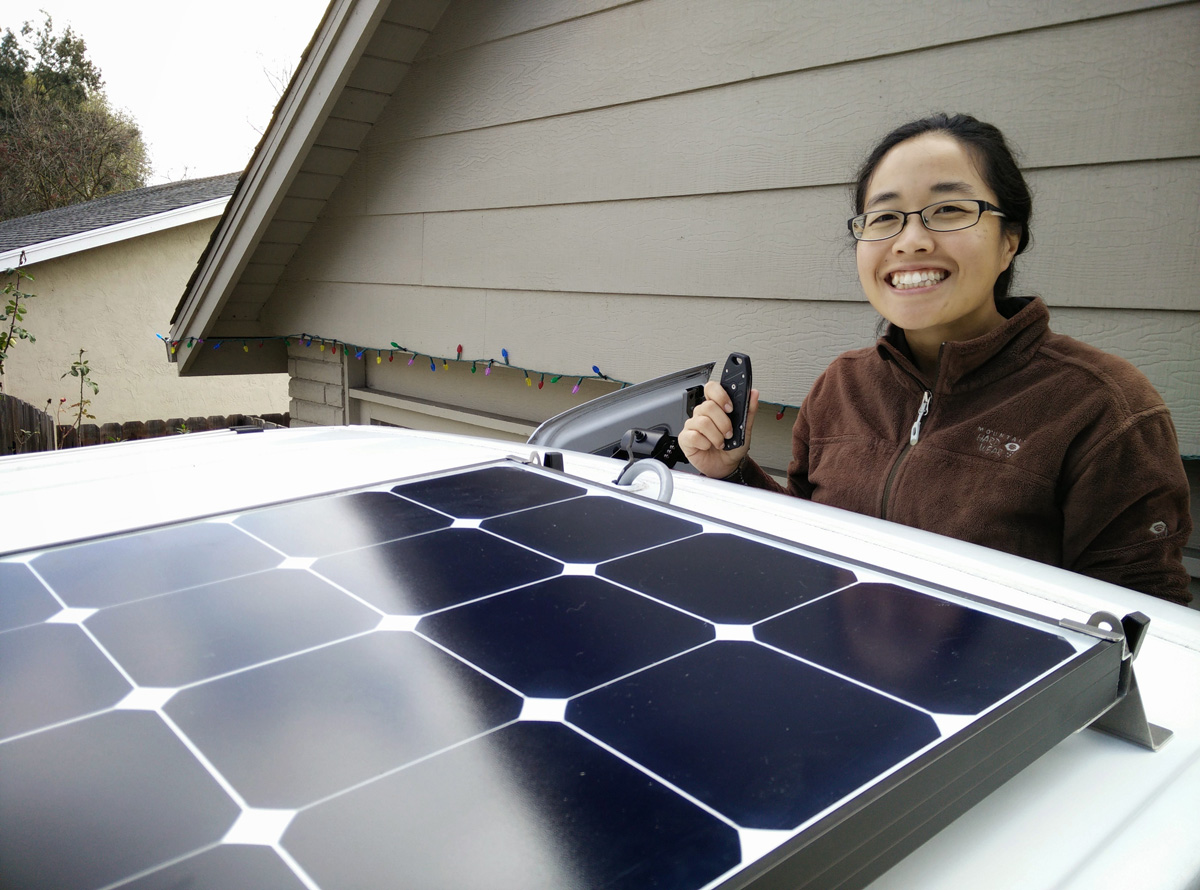
Our installed Grape Solar 100W Panel
At this point, you’re pretty much done. You can start using the ports on the Yeti to charge your laptop, your phone and what have you.
The last thing we did was connecting the Yeti’s 12V output to the fusebox installed under the driver’s seat. From the fusebox we run cables that connect our lights, 2 extra USB ports by the bed, and one cigarette lighter adapter by the driver’s seat.
Setting up solar power for van living can be a complicated subject
As proven by the aforementioned headache and the one I got just writing this post, rigging up your own solar powered adventure van can be a complicated subject. This post barely scratched the surface and focused on what we did. For our needs.
Our 100W panel and the Yeti 400 power our 2 laptops, 1 tablet, 3 phones, 2 Kindles, a cellphone signal booster (need this!), 4 overhead lights, a coffee grinder, a handheld vacuum, and an electric water heater.
We’ve been on the road for almost a year and we’ve never had to go without power! The only time we ran low was when we encountered one rainy day after another in Colorado, but even then the battery never dropped below 40%.
Your mileage WILL vary
On the road, we ran into other vans that have these super awesome battery banks and were awed, AWED, at the array of electronics they run: electric water heater, water pump, refrigerator, TV, toaster oven (!), and more. It was truly a home on wheels (while our van is more like a tent on wheels.)
(If you’re looking into a bigger setup, our friends from Traipsing About wrote a detailed report on their solar setup build here. So did the couple behind Exploring Alternatives, you can read about their setup here).
On the other hand of the spectrum, we’ve also met people traveling full time in their vans getting by with headlamps and library outlets supplemented by small portable solar panels.
A big part the reason we can get by with our small solar system capacity is because the way we travel. Our climbing focused itinerary means that we follow the season and incidentally maximize our sunny days. These are the days our Yeti 400 is filled to the brim with solar power goodness.
During rainy days, we seek out libraries and coffeeshops. We use their wall outlets while catching up on work and real life. When it starts getting depressingly too rainy, we get in the car and drive somewhere else.
We have no Fantastic Fan, use portable propane heater when it gets cold (total of 10 days this year), and a cooler instead of a fridge. All of this reduce our power need significantly.
Is this the perfect solar power setup?
If you consider what we spent and the amount of Ah that we got, it comes to quite an expensive $/Ah. You could build something with similar capacity as the Yeti 400 for about $150. So what you end up paying is the convenience of easy set up.
Having said it, with all the other works involved in building our van, we we were just glad to have one less thing to worry about. So far it has fulfilled our electrical needs.
It’s not perfect, but it works for us.
—
Do you have any experience with setting up a solar system for you van? What worked for you? Let us know in the comment.


Questions and Comments
Comments are disabled. If you have any questions about the post, you can DM me on Instagram: @jacknjilltravel.